Perspex (acrylic sheet) is a durable plastic used in the signage industry. It is one of those materials that is affordable, widely available, cheap to fabricate and a premium can be charged to turn it into a custom product from signage to displays.
Laser cut perspex signs is a business that can be started with knowledge of a vector graphics editor such as CorelDRAW and some wall mounting knowhow. The laser cutting can be outsourced to a "bring your own material" provider. While other laser cutting providers can provide both.
Requirements
This business requires
Equipment & Materials
Vector graphics editor (to design artwork)
Perspex
Laser cutter (can be outsourced)
Skills
Tip: if you new to the industry make you you have "researched and immersed" before proceeding.
Knowledge of how to use vector graphics editor
Know the difference between vector and bitmap/raster graphics
Know how to properly lay out and mount the sign to the wall
Business Model
Sign is designed in vector graphics editor such as CorelDRAW and given to client for approval.
Perspex is sourced (suppliers at the bottom)
And is taken to a laser cutting provider to cut.
Sign is mounted to the wall
How to outsource the laser cutting of Perspex
![]()
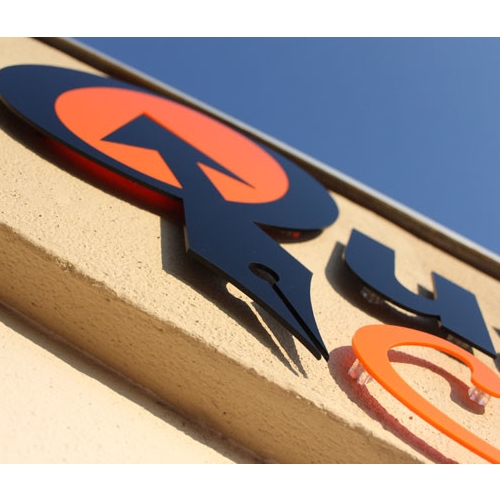
Finished product
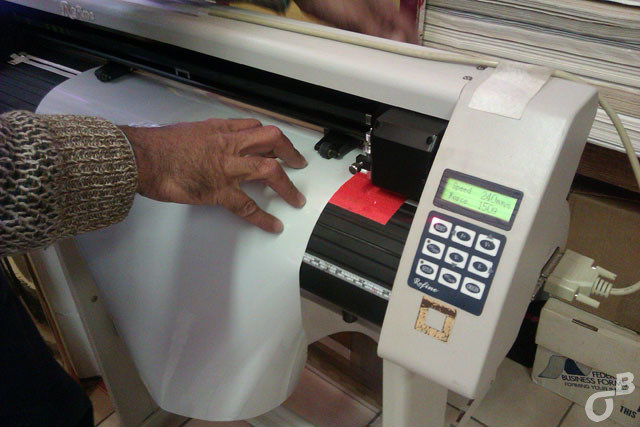
If you are looking to cut Perspex into perfect letters or shapes one of the best ways to do it is to use a laser cutter, but unless you are in the industry, the cost to own a laser cutter will be prohibitive. However, there are companies that offer laser cutting as a service. The company I use supplies both Perspex and laser cutting but I usually supply my own sheet and they only charge for the cutting – which is based on the time the machine is spent cutting the Perspex. I’m not sure if all laser cutting companies use this pricing metric or will allow you to bring your own acrylic sheet but mine does and if your size and thickness are within the limitations of their machine they will cut it no problem.
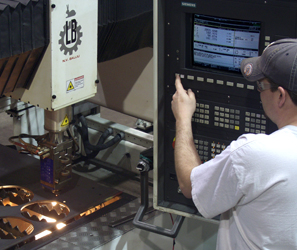
Laser cutting machine
How outsourcing laser cutting of Perspex works
The laser cutter can cut Perspex from vector graphics artwork – usually CorelDRAW files. Once you have submitted the size to be cut and thickness of the Perspex, the company doing the cutting will provide you with a quotation on what it will cost. I have found this method to be quite affordable, time-saving with the Perspex being precision cut.
Considerations
Laser cutters have a maximum width (bed size) they can cut as well as thickness. So you have to be sure your job falls into those dimensions. Example: the company that does my cutting told me that their machine (which normally has a 10mm thickness limit), wasn’t cutting straight anything above 8mm. This sounds a bigger problem that it is as most suppliers locally sells coloured acrylic sheet with a maximum thickness of 5mm.
Steps
Design artwork in vector graphics software editor
![]()
-
Design artwork on computer
-
Get approval
-
Source Perspex
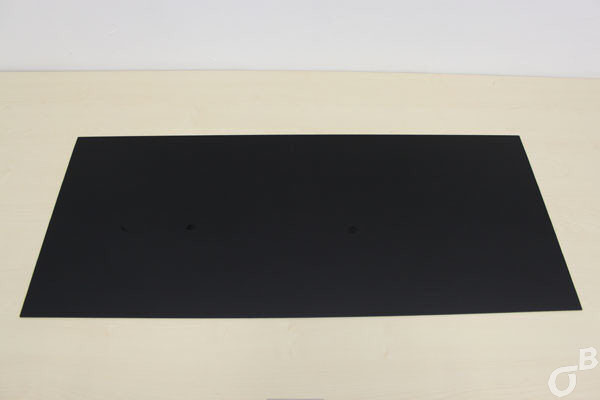
Uncut black Perspex
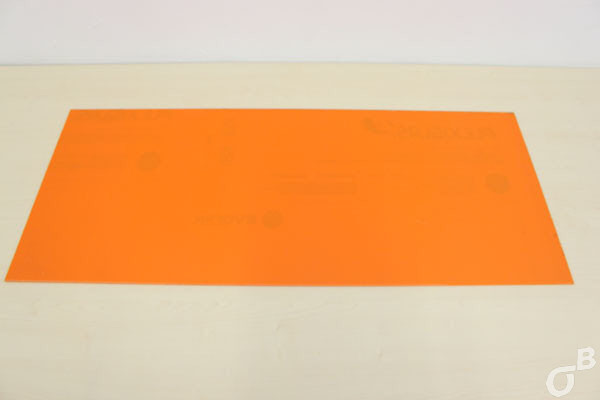
Uncut orange Perspex
Submit artwork to laser cutting company (make sure it is vector graphics, with typefaces/fonts converted to curves.
Get quotation
Give go ahead for cutting
Perspex is cut to your specifications
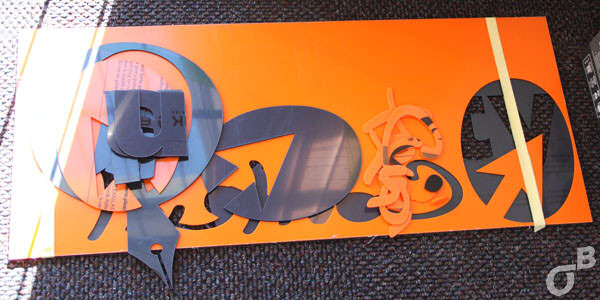
Laser cut Perspex before assembly
![]()
Assembled Perspex sign
Tips if you are not supplying your own Perspex
Have a look at a coloured swatch to make sure that the colour of acrylic sheet is the colour you want.
Tips if you are supplying your own acrylic sheet
* Leave the protective plastic on the acrylic sheet to avoid scratches, the laser cutter can cut through it with no issues.
* Make sure you are buying the correct size and thickness acrylic sheet
By having your own Perspex cut you can make your own signs cheaper than what signage companies would charge and put the difference in your pocket.
How to mount a Perspex sign directly to the wall
When we started out we were advised to to mount the Perspex to a backing board which could then be painted the desired colour (or the colour of the wall). This is the easier way. But we mount our signs directly to the wall using this method (there are mounting pins commercially available that would attach to the wall and Perspex but we make our own).
This was the advice from the expert we consulted with before proceeding:
You could cut a number of blocks – all the same thickness – glue them to the back of the sign characters out of sight obviously and then in turn glue the blocks to their final position. You would need some fairly aggressive double sided tape to hold the characters to position while your silicone or adlock or other industrial type adhesive sets to dry.
Make sure the characters in are thick enough to conceal the blocks.
You would need a paper or vinyl template prepositioned to the selected position in order to get ‘register’ between the sign characters.
Adhesives have to be compatible with acrylic materials.
This is a DIY method that would work as long as your materials and adhesives are compatible and of course your design would need to lend itself to the method so to speak.
Making the stencil
When we started out we cut vinyl to create the stencil to draw a pencil outline to lay out the letters evenly. In fact we made a positive stencil:
But two things are easier to use as a stencil – the negative created from cutting the vinyl or cheaper - the negative created from cutting the Perspex (providing you had cut the entire logo out in Perspex).
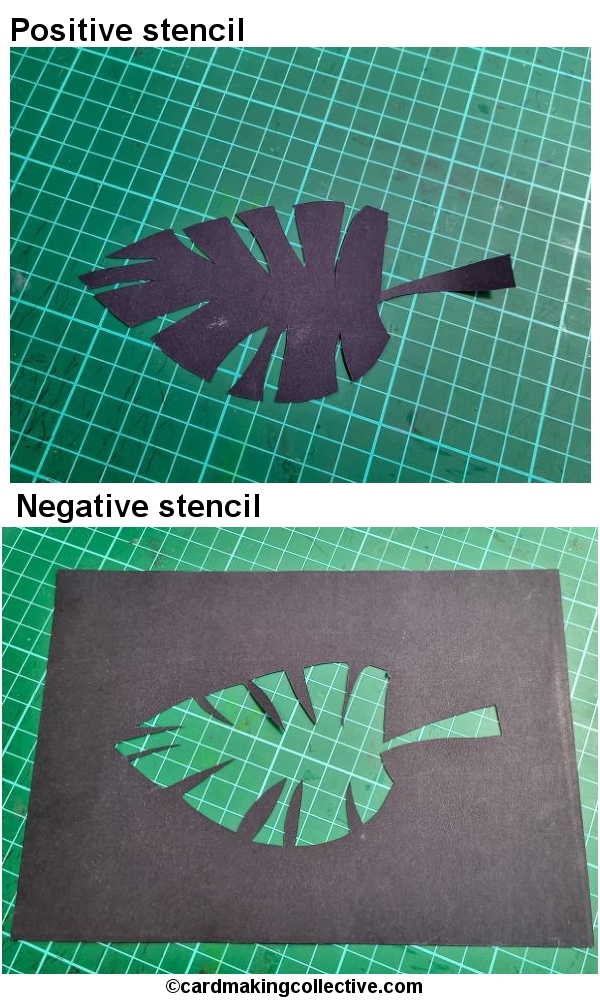
Positive vs. negative stencil
Making the spacers
Note: If you using commercial spacers you can skip this whole step. However "native" spacers are cheaper and learning to make them means that if commercial spacers are out of stock you can still make your signs. I have spoken about the unreliability of B2B suppliers in South Africa before. This is a great "self-sufficient" trick to know. Perspex is widely available spacers for your specific need not so much.
The mounting spacers were also made out of laser cut Perspex and can be ordered with the other laser cut Perspex using whatever colour you need (we used transparent).
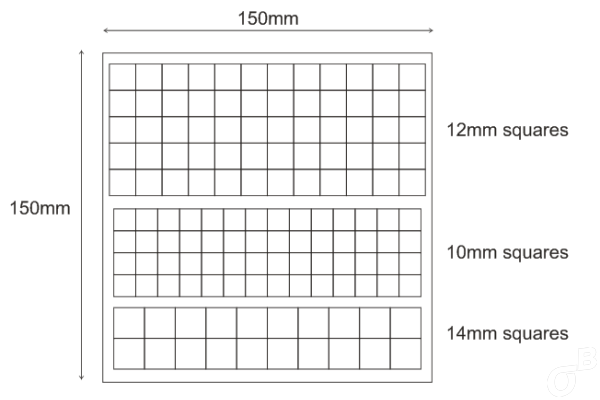
We decided we wanted the spacers to be 10mm thick, however we could not get 10mm thick clear Perspex nor could our laser cutting supplier safely cut that thick. We then decided to glue two 5mm squares together and purchased a 150x150mm square sheet of Perspex 5mm thick:
![]()
Clear perspex square
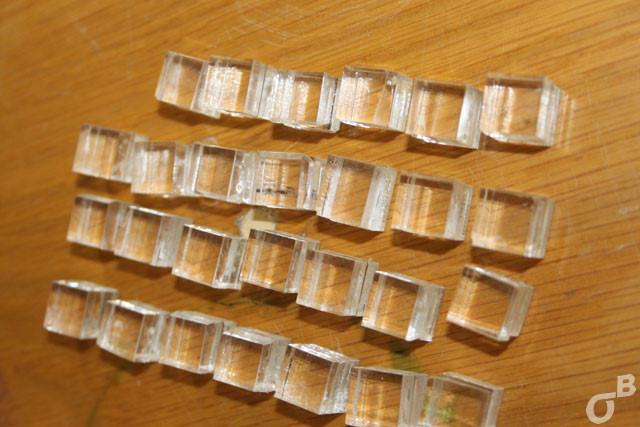
This was then laser cut into spacers of three different sizes (10,12, & 14mm in diameter) to accommodate both thick and thin lettering:
Laser cut artwork
![]()
Laser cut squares
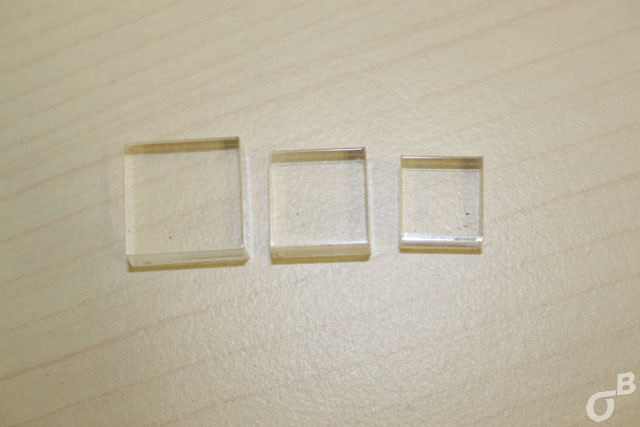
Laser cut square spacers sorted by size
Two of the same sized squares were then glued together to create a 10mm thick spacer:
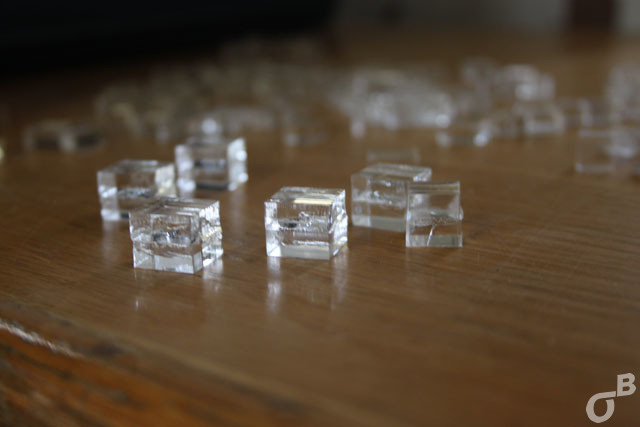
10mm (2x 5mm) glued squares
We first used a PVC cement to glue the squares together, but that took too long to set:

PVC cement (takes too long to set)
PVC cement being used
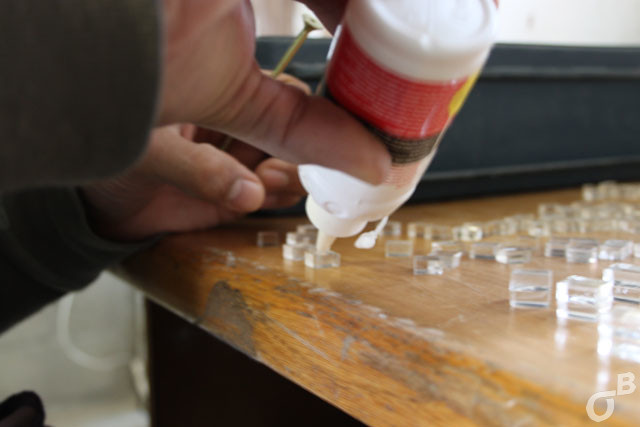
So we used a super glue instead:
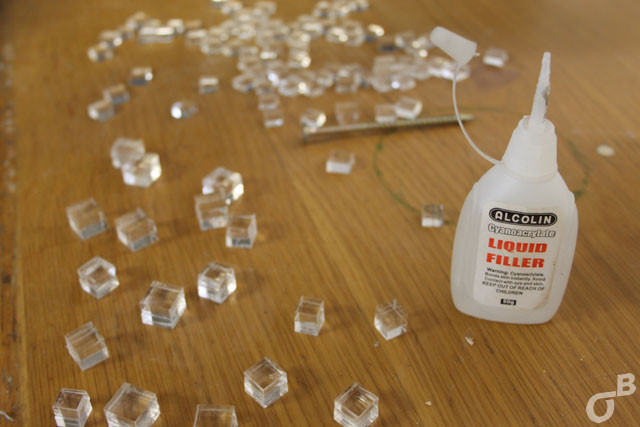
Super glue
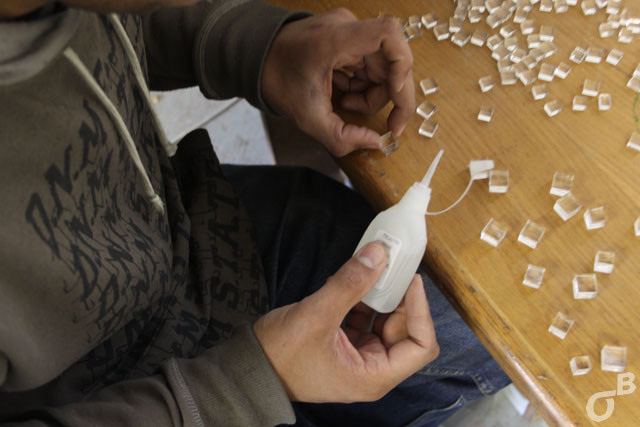
Super glue being used
Squares being lined up after they are glued:
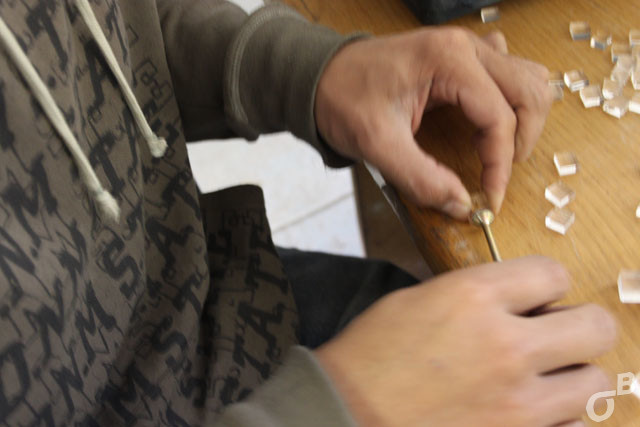
Squares being lined up
A hole was drilled through the 10mm thick spacer to attach it to the wall. Here is the drill bit and drill we used:

Drill bit
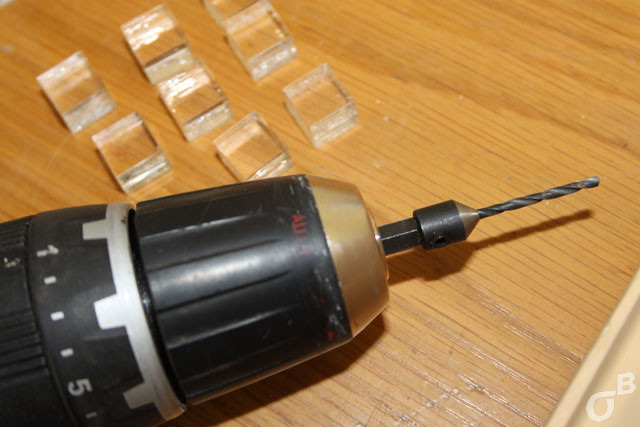
Drill
Squares waiting to be drilled
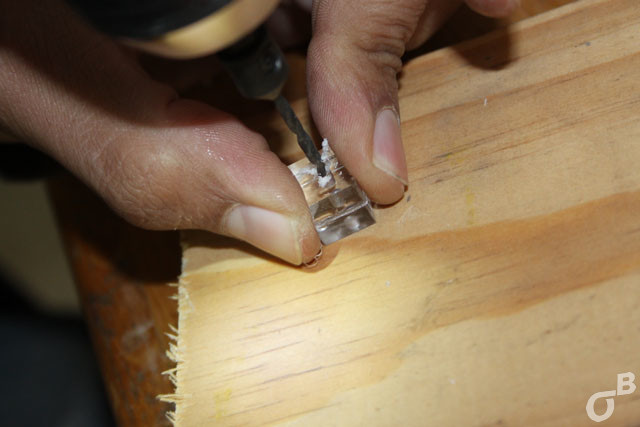
Square spacer being drilled
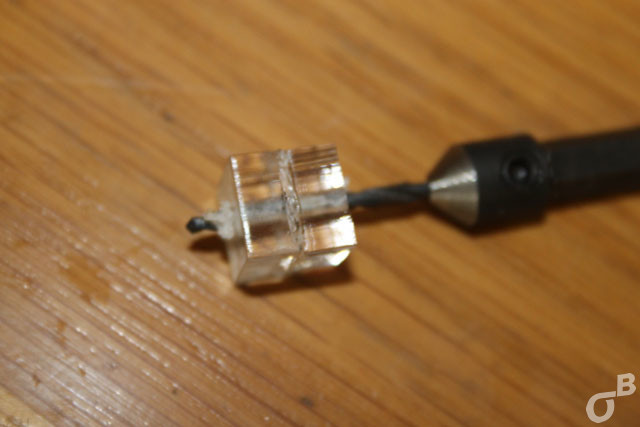
Drilled square spacer
Common screws and plugs was used to attach the spacer to the wall, we used 6×40 chipboard screws and 5.0x25mm nylon wall plugs:
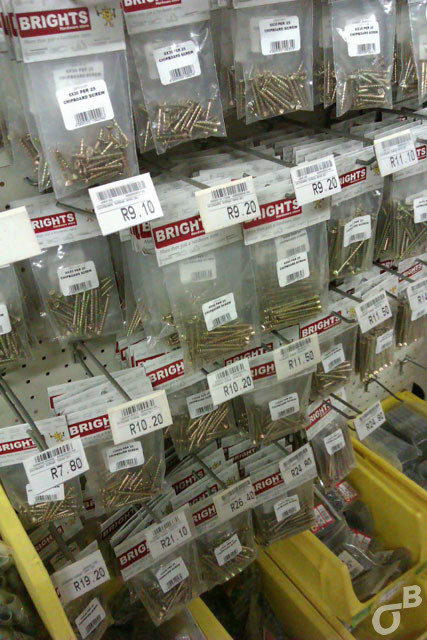
Screws and plugs
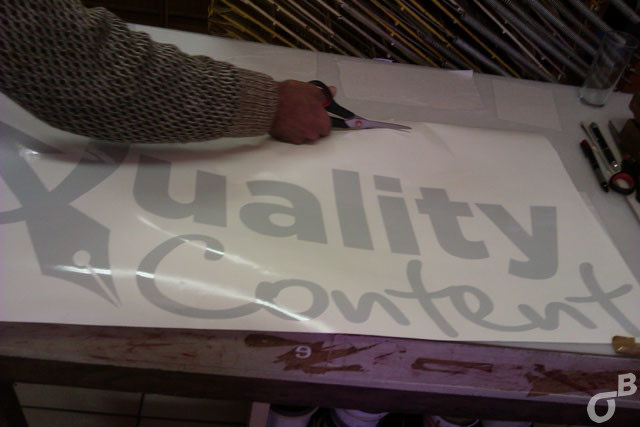
We made a stencil for registration purposes and traced the outline on the wall using a pencil. The stencil was made using sign vinyl and a vinyl cutter:
Stencil being cut
Stencil being made
We drill holes in wall where spacers would go to support the lettering and added plugs:

Drill holes in wall
Square spacers was then drilled into the wall using the screws, the lettering was then glued to the spacers using a fast setting epoxy adhesive.
![]()
Drill square spacers into wall
We lightly sandpaper the Perspex letters where the epoxy will make contact to roughen the surface for better bonding:
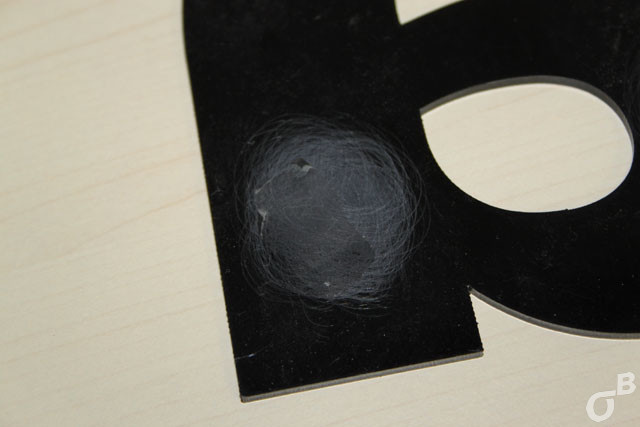
Roughen smooth acrylic surface
We mixed the epoxy and hardener, applied it to the acrylic sheet lettering, stuck the lettering onto the square spacer, then moved and stuck it into place. Best done on a clear day.
![]()
Add lettering to spacers
![]()
Letter and spacer
![]()
View from bottom
![]()
View from bottom
![]()
View from bottom
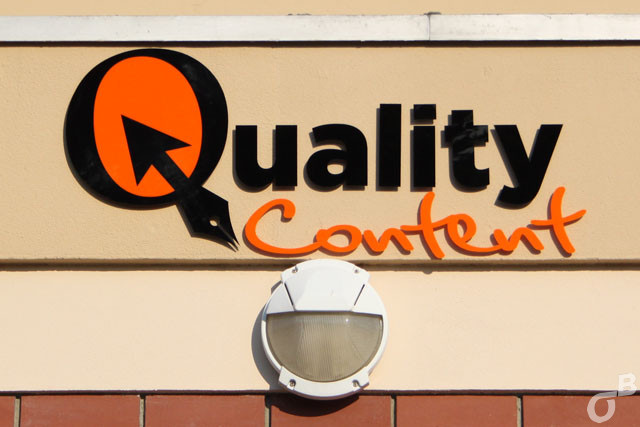
Front of sign
Perspex sign mounted to wall:
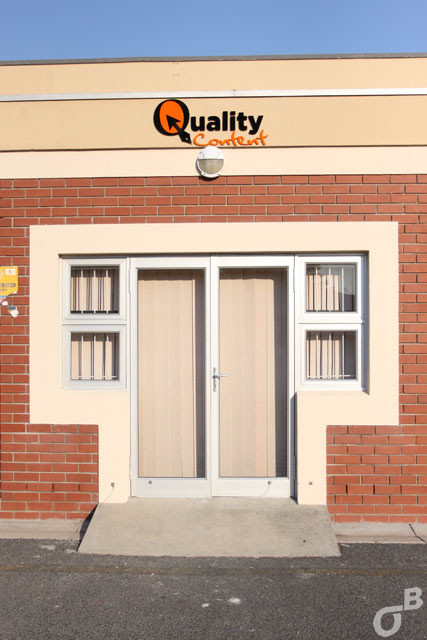
Perspex sign
Custom Sign